ISO/TR 16570:2004
(Main)Geometrical Product Specifications (GPS) — Linear and angular dimensioning and tolerancing: +/- limit specifications — Step dimensions, distances, angular sizes and radii
Geometrical Product Specifications (GPS) — Linear and angular dimensioning and tolerancing: +/- limit specifications — Step dimensions, distances, angular sizes and radii
ISO/TR 16570:2004 describes the ± limit specification of step dimensions, distances, angular sizes and radii when the function relates to two features only.
Spécification géométrique des produits (GPS) — Cotation et tolérancement linéaires et angulaires: Spécifications de limites en +/- — Ressauts, distances, tailles angulaires et rayons
General Information
Relations
Standards Content (Sample)
TECHNICAL ISO/TR
REPORT 16570
First edition
2004-10-01
Geometrical Product Specifications
(GPS) — Linear and angular
dimensioning and tolerancing: +/- limit
specifications — Step dimensions,
distances, angular sizes and radii
Spécification géométrique des produits (GPS) — Cotation et
tolérancement linéaires et angulaires: Spécifications de limites en +/- —
Ressauts, distances, tailles angulaires et rayons
Reference number
ISO/TR 16570:2004(E)
©
ISO 2004
---------------------- Page: 1 ----------------------
ISO/TR 16570:2004(E)
PDF disclaimer
This PDF file may contain embedded typefaces. In accordance with Adobe's licensing policy, this file may be printed or viewed but
shall not be edited unless the typefaces which are embedded are licensed to and installed on the computer performing the editing. In
downloading this file, parties accept therein the responsibility of not infringing Adobe's licensing policy. The ISO Central Secretariat
accepts no liability in this area.
Adobe is a trademark of Adobe Systems Incorporated.
Details of the software products used to create this PDF file can be found in the General Info relative to the file; the PDF-creation
parameters were optimized for printing. Every care has been taken to ensure that the file is suitable for use by ISO member bodies. In
the unlikely event that a problem relating to it is found, please inform the Central Secretariat at the address given below.
© ISO 2004
All rights reserved. Unless otherwise specified, no part of this publication may be reproduced or utilized in any form or by any means,
electronic or mechanical, including photocopying and microfilm, without permission in writing from either ISO at the address below or
ISO's member body in the country of the requester.
ISO copyright office
Case postale 56 • CH-1211 Geneva 20
Tel. + 41 22 749 01 11
Fax + 41 22 749 09 47
E-mail copyright@iso.org
Web www.iso.org
Published in Switzerland
ii © ISO 2004 – All rights reserved
---------------------- Page: 2 ----------------------
ISO/TR 16570:2004(E)
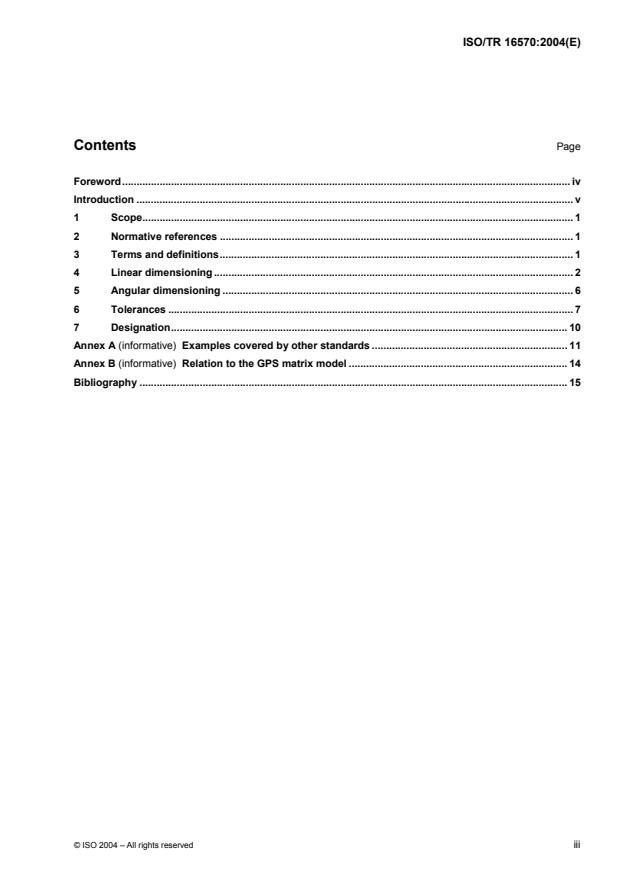
Contents Page
Foreword. iv
Introduction . v
1 Scope. 1
2 Normative references. 1
3 Terms and definitions. 1
4 Linear dimensioning. 2
5 Angular dimensioning. 6
6 Tolerances. 7
7 Designation. 10
Annex A (informative) Examples covered by other standards . 11
Annex B (informative) Relation to the GPS matrix model . 14
Bibliography . 15
© ISO 2004 – All rights reserved iii
---------------------- Page: 3 ----------------------
ISO/TR 16570:2004(E)
Foreword
ISO (the International Organization for Standardization) is a worldwide federation of national standards bodies
(ISO member bodies). The work of preparing International Standards is normally carried out through ISO
technical committees. Each member body interested in a subject for which a technical committee has been
established has the right to be represented on that committee. International organizations, governmental and
non-governmental, in liaison with ISO, also take part in the work. ISO collaborates closely with the
International Electrotechnical Commission (IEC) on all matters of electrotechnical standardization.
International Standards are drafted in accordance with the rules given in the ISO/IEC Directives, Part 2.
The main task of technical committees is to prepare International Standards. Draft International Standards
adopted by the technical committees are circulated to the member bodies for voting. Publication as an
International Standard requires approval by at least 75 % of the member bodies casting a vote.
In exceptional circumstances, when a technical committee has collected data of a different kind from that
which is normally published as an International Standard (“state of the art”, for example), it may decide by a
simple majority vote of its participating members to publish a Technical Report. A Technical Report is entirely
informative in nature and does not have to be reviewed until the data it provides are considered to be no
longer valid or useful.
Attention is drawn to the possibility that some of the elements of this document may be the subject of patent
rights. ISO shall not be held responsible for identifying any or all such patent rights.
ISO/TR 16570 was prepared by Technical Committee ISO/TC 213, Dimensional and geometrical product
specifications and verification.
iv © ISO 2004 – All rights reserved
---------------------- Page: 4 ----------------------
ISO/TR 16570:2004(E)
Introduction
This Technical Report is a geometrical product specification (GPS) technical report and is to be regarded as a
general GPS technical report (see ISO/TR 14638). It influences links 1 and 2 of the chains of standards on
size, distance, radius and angle.
For more detailed information on the relation of this Technical Report to other standards and the GPS matrix
model, see Annex B.
The application of ± limit specifications usually causes large specification uncertainty (see ISO/TS 17450-2). It
must be emphasized that any ± limit specification in this Technical Report, generally speaking, can be
completely substituted by geometrical dimensioning and tolerancing as per ISO 1101 and its related standards.
Even the application of this Technical Report might cause large specification uncertainty. Consequently,
ISO/TC 213 recommends that the use of ± limit specifications be restricted to features of size only (see
ISO 14660-1 and ISO 14405).
Other geometrical specifications are indicated and toleranced according to the principles given in ISO 1101
and related standards (e.g. by positional tolerancing).
This Technical Report consists of several groups of examples and it needs to be recognized that several
different interpretation concepts are applied in the various groups.
ISO 129 contains general rules for dimensioning and dimensional tolerancing with ± limit specifications in
technical drawings. These rules are not always sufficient for an unambiguous description of the workpiece
geometry.
EXAMPLE 1 Distances between axes of holes on a pitch cylinder cannot be toleranced by ± limit specifications
suitable for the function (see Figure A.1, left).
EXAMPLE 2 Angles between planes containing axes of holes cannot be toleranced by ± limit specifications suitable
for the function (see Figures A.3 and A.5).
EXAMPLE 3 Linear dimensions and ± limit specifications, even when related to the same reference (having the same
origin as in superimposed running dimensioning), but dimensioned in two or three directions and nominally perpendicular
to each other, are ambiguous (see Figure A.1, centre, right).
In certain cases, such as for step dimensions, the function (e.g. assembly) allows for larger tolerances for the
form (e.g. flatness) than for the location of the point of the surface, which is the most outward of the material.
In these cases the production process including casting, forging and sheet metal working, becomes more
beneficial when ± limit deviation specifications are applied.
For these and similar cases, this Technical Report deals with ± limit specifications for
step dimensions (see 4.2),
distances between an integral feature and a derived feature (see 4.3.1),
distances between two derived features (see 4.3.2),
angular sizes (see Clause 5), and
radii (see 6.4),
only when two features are involved.
© ISO 2004 – All rights reserved v
---------------------- Page: 5 ----------------------
TECHNICAL REPORT ISO/TR 16570:2004(E)
Geometrical Product Specifications (GPS) — Linear and angular
dimensioning and tolerancing: +/- limit specifications — Step
dimensions, distances, angular sizes and radii
1 Scope
This Technical Report describes the ± limit specification of step dimensions, distances, angular sizes and radii
when the function relates to two features only.
The interpretation of ± limit specifications in accordance with this Technical Report is only applicable to a
drawing when “ISO/TR 16570” is referred to on the drawing.
2 Normative references
The following referenced documents are indispensable for the application of this document. For dated
references, only the edition cited applies. For undated references, the latest edition of the referenced
document (including any amendments) applies.
ISO 129-1:2004, Technical drawings — Dimensioning — General principles, definitions, methods of execution
and special indications
1)
ISO 1101:— , Geometrical Product Specifications (GPS) — Geometrical tolerancing — Tolerancing of form,
orientation, location and run-out
ISO 14660-1, Geometrical Product Specifications (GPS) — Geometrical features — Part 1: General terms and
definitions
2)
ISO/TS 17450-1:— , Geometrical product specifications (GPS) — Part 1: Model for geometrical specification
and verification
3 Terms and definitions
For the purposes of this document, the terms and definitions given in ISO 129, ISO 1101, ISO 14660-1 and
ISO/TS 17450-1 apply.
1) To be published. (Revision of ISO 1101:1983)
2) To be published.
© ISO 2004 – All rights reserved 1
---------------------- Page: 6 ----------------------
ISO/TR 16570:2004(E)
4 Linear dimensioning
4.1 General
Linear dimensioning may be applied for tolerancing sizes and distances between two ideal features, otherwise
the requirements of ISO 1101 apply.
4.2 Distance dimensioning between two parallel planes (step dimensioning)
A step dimension is the distance between two parallel planes (integral features) having the same direction
outward from the material (see Figure 1).
Figure 1 — Step dimension
One of the two parallel planes is to be taken as the reference.
For the purposes of this Technical Report, the step dimension corresponds to the distance between the
reference and the contacting associated plane of the other surface parallel to the reference plane (see
Figure 2).
The reference is a contacting plane so located and orientated that any motion is equalized.
1
2
2
1
a) Drawing indication b) Explanation (two reference possibilities)
Key
1 contacting associated plane
2 reference plane
Figure 2 — Step dimension without origin symbol according to ISO 129
2 © ISO 2004 – All rights reserved
5 +0,2
-
---------------------- Page: 7 ----------------------
ISO/TR 16570:2004(E)
Where the origin symbol indicates a single feature in accordance with ISO 129, this feature applies as the
reference feature only (see Figure 3). When there is no reference indicated (dimension line with arrows on
both sides) both reference possibilities apply.
NOTE 1 Form and orientation of the features are controlled by individually indicated geometrical tolerances or general
tolerances of form (e.g. flatness) and of orientation (e.g. parallelism, perpendicularity).
NOTE 2 This definition of step dimensioning corresponds to the functional requirements of an assembly.
NOTE 3 This concept of step dimensioning is different from the other concepts of distance dimensioning given in 4.3.
2
1
a) Drawing indication b) Explanation
Key
1 contacting associated plane
2 reference plane
Figure 3 — Step dimension with origin symbol according to ISO 129
4.3 Distance dimensioning between two parallel features, at least one of which is derived
4.3.1 Distance between integral feature (plane surface) and derived feature
For the distance between an integral feature (plane surface) and a derived feature, see Figure 4.
2
1
Key
1 integral feature
2 derived feature
Figure 4 — Distance between integral and derived feature
One of the features is to be taken as
...


Questions, Comments and Discussion
Ask us and Technical Secretary will try to provide an answer. You can facilitate discussion about the standard in here.